Thursday, May 31, 2012

blown head gasket, part 4, lapping


Hi, I'm back.
I'm not really a blogging type of person, as you can see.
And I'm sorry. But if you wonder what's up with starlet and head repair, here are 3 fast updates for you. Right where I last ended:
Before lapping I cleaned bunch of things:

This is my lapping rig:
Acu drill was dead really fast:
Comparsion:
Not bad in my opinion.
My apocalyptic valve spring compressor in action:
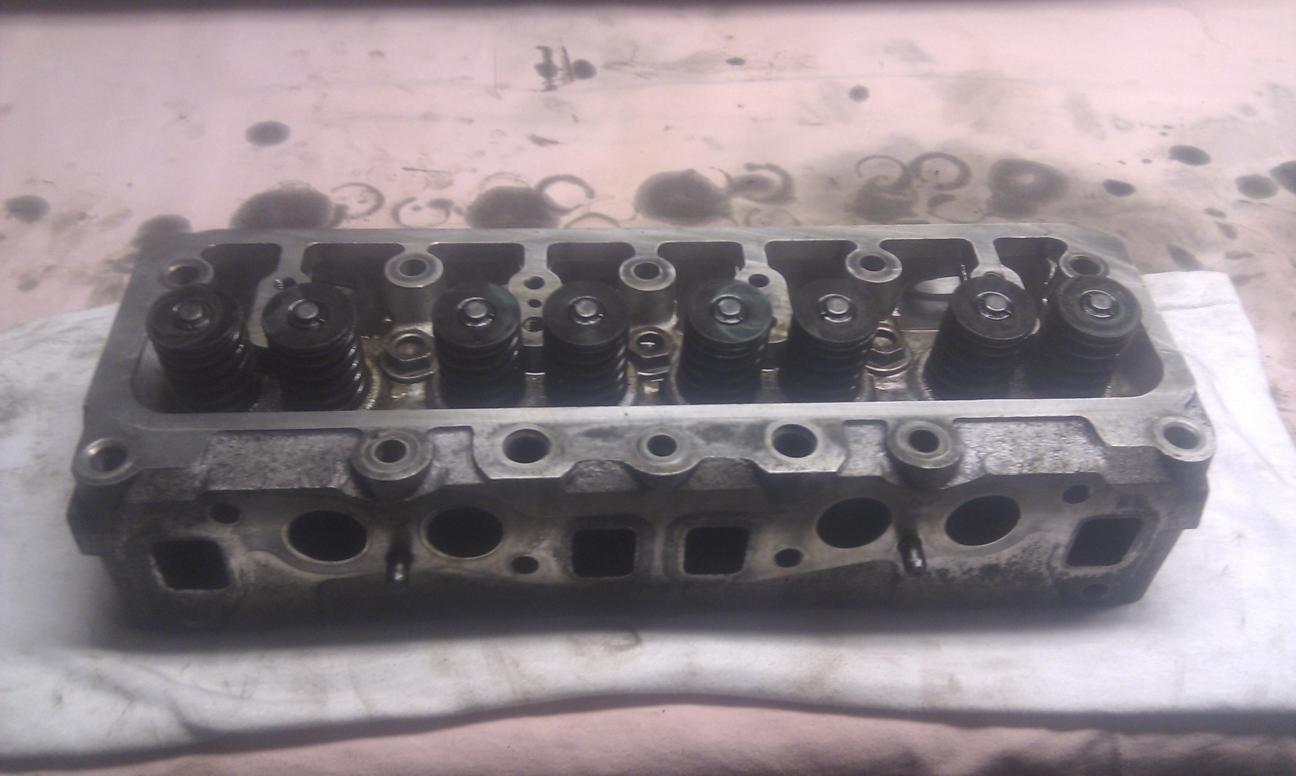
And head back together:
And because I'm stupid and I didn't instal valve stem seals, I had to use spring compressor few more times...
In part 5: cooling system flush

Tuesday, November 1, 2011

blown head gasket, part 3, cleaning

Hi, in this post you can see recent work on Starlet head.
Right after removing all valves it looked like this:
and when it got back from mashine shop:
In meanwhile I cleaned all guts:
just for idea with what shit I have the honor:
pile of clean stuff:
and rocker arms:
another for idea, before:
after:
back in one piece:
and togeather:
On last picture you can see how it sits on my table right now.
There are bunch of things to do, but next step is valve lapping.
See you in part 4.

blown head gasket, part 2, creativity

Hi, in this post you will see thing which took place after removing head from engine.
Remember exhaust headers?
Separating them from head was easy, real challange was these 3 nuts:
Scraped oil slime from valve cover:
And hurray to dishwasher, yes dishwasher:
You could smell engine oil from dishes two days after, but this was worth it:
Next was few bits from engine, but this time hand washied:
In order to have head machined, I had to remove all valves and stuff.
First was this bar, which was easy:
Second were valves, but how without valve spring compressor? No plans, just plain creativity and this pile of junk:
Fast turned in something like this:
It turned out to be a realy good tool, but those valve locking washers were stubborn as hell.
In the end I removed all valves and sent head to be machined.
More in part 3.